This time we will explore a fun way to explore how your brain and your eyes work together to let you see in 3D. We tent to think of 3D as something that you have to wear special glassed for (which make me dizzy), but actually, if your vision is normal, you see the objects around you in 3D all the time. With this activity, we will combine two dimensional photographs to make them appear three dimensional.
You will need:
- Photo stereo pairs
- a piece of stiff paper or cardboard about 8 1/2 inches by about 4 or 5 inches. I used an envelope, and found that it worked very well.
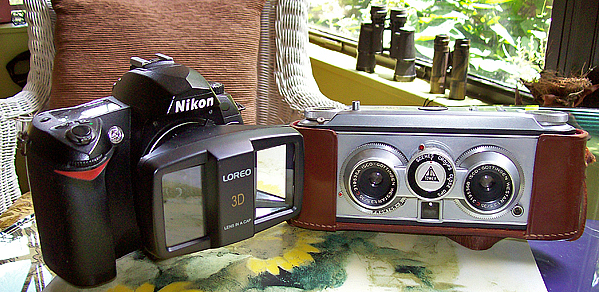
A stereo pair is a pair of photographs that have been taken from slightly different positions. I use a 3D lens made for my Nikon, and I also have an antique stereo film camera, but you can take your own stereo pairs by simply taking a photo and then moving the camera about 2 or 3 inches to the side and taking another. Don't turn the camera. Just take one photo, move it to the side, without shifting it, and take another. It takes a little practice, but you can get some surprisingly good stereo pairs that way.
Once you have the two photos, put them side by side. Don't make the photos too big, as that makes it MUCH harder to get it to work. The two pictures together should be about 4 1/2 inches wide.
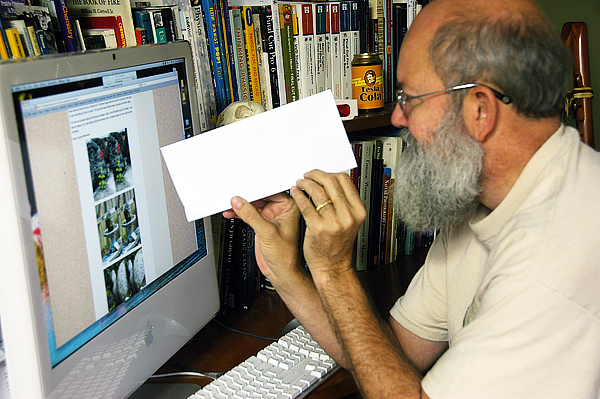
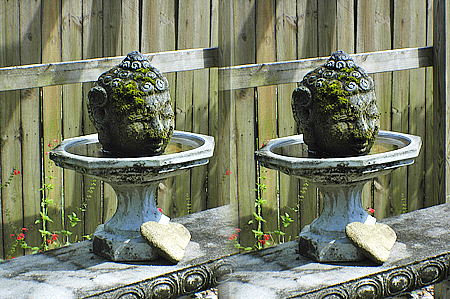
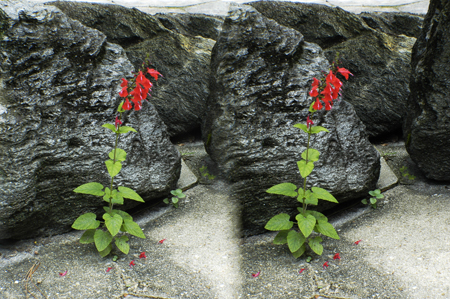
For now, lets use the photos at the bottom of this page. The first photo is a red flower in front of some rocks. Sit with your face about 2 feet away from the image. Hold the stiff paper about 3 inches in front of your face, with the short sides facing towards your nose and the center of the two photos. Looking past the paper, you should find that your right eye can see the right photo, but not the left. Your left eye should be able to see the left photo, but not the right.
At that point, you are probably still seeing two somewhat overlapping images. Now you have to relax your eyes, letting them go a bit out of focus. If you have ever looked at the 3D stereograms that are hidden in patterns, you want to look at this the same way. Even if you have trouble seeing those, try this, because it is easier to see.
As you relax your eyes, the two images should move closer together. Then move your head and/or the card nearer and farther from the screen, to get the two images to combine into one 3D image. Have patience. Give it a little time. I tested this with Nancy and it took her a couple of minutes, but once you get it to work, it becomes very easy to do.
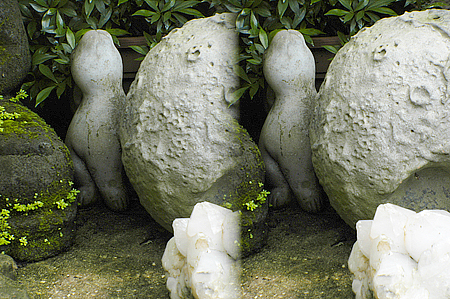
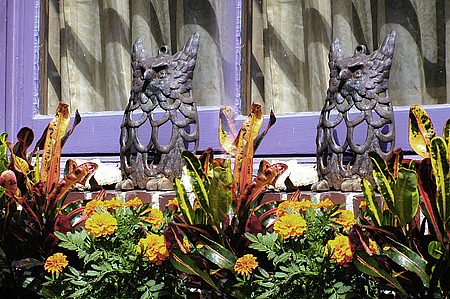
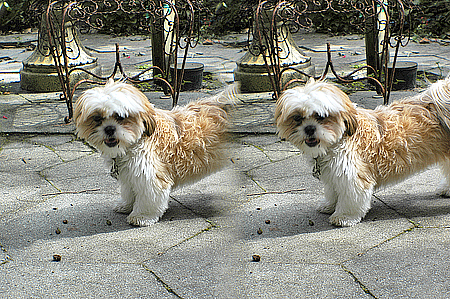
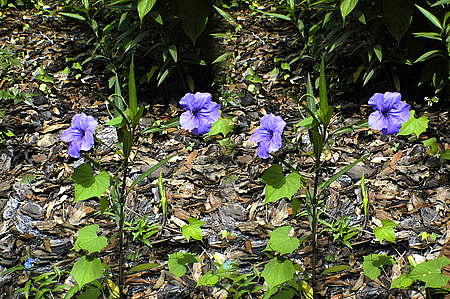
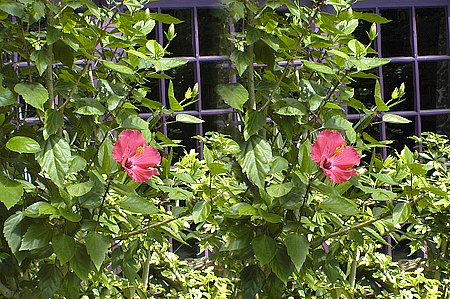
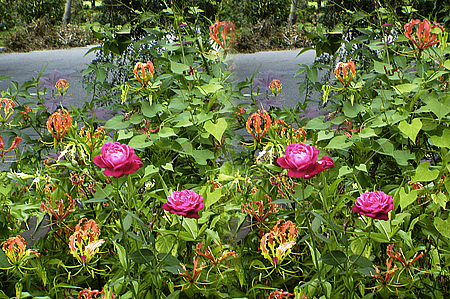
When the two images combine, you should see quite a bit of depth in the photo. Without changing anything, scroll down the page and look at the other images. Once you have the first one in focus, the rest will work the same way. If you have trouble with the first, skip it and try the second. Different images are easier for different people.
Now, why does the image look 3D? Hold your arm straight out in front of you. Close your right eye, and notice how it looks with just your left eye. Notice what is behind your thumb, what is beside each finger. Then switch eyes, closing your left eye and looking with your right. Although you did not move your hand, the image has shifted. What you see behind your thumb is different now, because you are looking from a different angle.
Still holding your arm out straight, start switching back and forth from right eye to left eye, noticing how much the image shifts. Keep shifting your eyes, and move your hand closer to your face. You should see that the closer your hand gets to your face, the more the image shifts. That is why we see things in 3D. When your brain combines the images from both eyes, if there is a lot of difference in the images, our brain tells us that the object is close. If there is little or no difference, our brain tells us that the object is far away.
Now lets go to the first stereo pair, the red flowers and the rocks. When you look at the two photos, they look the same, until you look closely at the details. Compare the patterns on the rock, just under the red flowers, and you will see that the photos were taken from slightly different angles. When your brain combines those different photos into one, it will look 3D. The flower image shifts the most from one photo to the other, so your brain tells you that it is closer. The rock at the back shifts the least, so we see it as farther away.
The more you practice looking at the photos, the easier it gets. I found that after about 20 minutes, I could see the images in 3D, even without using the envelope. Now I just have to figure out how to get my eyes uncrossed.
Have a wonder-filled week.